
Since scuba diving primarily takes place in ocean waters, equipment is constantly exposed to salt, sediments, and varying levels of mineral deposits. Over time, these elements can clog openings, cause rust buildup, and contribute to corrosion, potentially leading to irreversible damage.
If not properly maintained, scuba gear may become unusable, resulting in costly replacements. Understanding proper cleaning techniques can help prevent damage and preserve your gear’s functionality. In the following guide, we will explore key tips and best practices for maintaining scuba diving equipment.
Also, we will dive into how you can use an ultrasonic cleaning device as an effective way to deep-clean your scuba gears without causing damage.
Using Ultrasonic Cleaner for Scuba Gears
Using an ultrasonic cleaner is an efficient and safe method for deep-cleaning your scuba gears. These devices use high-frequency sound waves to create microscopic bubbles that dislodge contaminants, effectively removing dirt, salt, and debris from even the most hard-to-reach areas without causing damage.
Here’s a step-by-step guide to follow…
1- Disassemble the gear
Before beginning the cleaning process, separate all removable components, such as regulators, mouthpieces, and hoses, to ensure a more thorough cleanse. Pay close attention to smaller parts like O-rings, clips, and filters, as these areas tend to accumulate contaminants.
To prevent misplacement, store these smaller components in a mesh basket during cleaning. However, refrain from placing delicate electronic components in the cleaner unless explicitly recommended by the manufacturer.
2- Pre-rinse the parts
Before you place the components into the ultrasonic cleaner, rinse them thoroughly with fresh water to remove any loose debris, grime, sand, and salt.
If needed, use a soft brush to gently clean delicate parts. Pre-rinsing ensures the ultrasonic cleaner can focus on eliminating more stubborn residues, resulting in a more efficient cleaning process.
3- Prepare ultrasonic cleaner
Fill the ultrasonic cleaner’s tank with water, ensuring there is enough space to add the appropriate cleaning solution. When adding the solution keep in mind that you use a solution specifically formulated for ultrasonic cleaners and compatible with scuba gear materials such as rubber, silicone, plastic, and metal.
It’s good to refer to the manufacturer’s instructions for the correct mixing ratio to achieve optimal results. Avoid overfilling the tank, as this can diminish the cleaning efficiency.
4- Place the gear in the cleaner
Gently arrange the scuba gear components in the ultrasonic cleaner’s tank, ensuring they are fully submerged in the cleaning solution without overcrowding.
To maximize efficiency, keep the parts from touching, allowing ultrasonic waves to reach every surface. For smaller components, use a mesh basket to maintain organization and prevent misplacement.
5- Set and start the cleaning process
Ultrasonic cleaners offer adjustable settings for cleaning time, temperature, and frequency, allowing for precise care of delicate scuba equipment. For optimal results:
- Maintain a range of 40°C to 60°C (104°F to 140°F)—warm enough to break down contaminants but gentle on materials.
- Set the timer between 5 to 15 minutes, depending on the level of grime.
- Frequency of 35-45 kHz range works best, ensuring a deep clean without unnecessary wear.
Once set, start the ultrasonic cleaner and let it work its magic. The microscopic bubbles generated by ultrasonic waves will penetrate even the most intricate crevices, lifting dirt and grime effortlessly.
You’ll likely see debris floating to the surface—a clear sign the process is working. For best results, resist the urge to peek mid-cycle; patience ensures a thorough clean.
6- Rinse thoroughly with fresh water
Once the cycle is complete, carefully remove your scuba gear and give it a thorough rinse with fresh water to eliminate any lingering cleaning solution.
Use a gentle stream of water to flush out hidden debris—think of it as the final refresh before your gear is dive-ready.
7- Dry, inspect the gears and store for future use
Gently pat the gear dry using a soft, lint-free cloth, then allow it to air dry completely in a well-ventilated area. Before reassembling, inspect each component for signs of wear, damage, or leftover residue—better to catch issues now than underwater.
Once dry, store your gear in a cool, dry place, away from direct sunlight and extreme temperatures. Regular maintenance checks will help spot early signs of deterioration, ensuring your equipment stays in peak condition for your next dive.
Recommend Ultrasonic Cleaner Solution for Scuba Gears
For ultrasonic cleaning of scuba gear, it’s crucial to use a mild, pH-neutral, non-corrosive, and non-toxic solution designed specifically for ultrasonic applications. This ensures a deep clean without compromising the integrity of your equipment.
- Commercial Ultrasonic Cleaning Concentrates – Specially formulated for safe and effective cleaning, these are often the go-to choice.
- Enzymatic Solutions – Excellent for breaking down organic contaminants like bacteria and biofilms.
- Alkaline Cleaners – Effective against stubborn dirt, grease, and oils but should be used with caution to avoid material degradation.
No matter what you pick, ensure the solution is suitable for plastics, metals, and other components of your scuba gear. Also, its safe for both you and the environment.
How to Clean Scuba Gears Without Using an Ultrasonic Machine?
Keeping your scuba gear clean is essential for safety, longevity, and optimal performance. But if you can not use an automatic cleaning machine for any reason, below is a step-by-step guide to properly washing each piece of your scuba gear manually.
1. Washing the Regulator
Scuba gear includes regulators equipped with security caps that must be washed with extreme care. Ensure no water enters the regulator while cleaning.
To dry, use a clean, dry towel, starting from the inside. Once the dust cap is securely in place, submerge the regulator in fresh water for five minutes to remove any remaining germs.
2. Washing the BCD (Buoyancy Control Device)
Thoroughly rinse the BCD to remove all salt particles and crystal sediments. Pay special attention to the inner compartments, as saltwater can enter through the valves.
When saltwater dries, it can cause exhaust valves to malfunction due to salt buildup. To prevent this, wash the BCD gently and carefully.
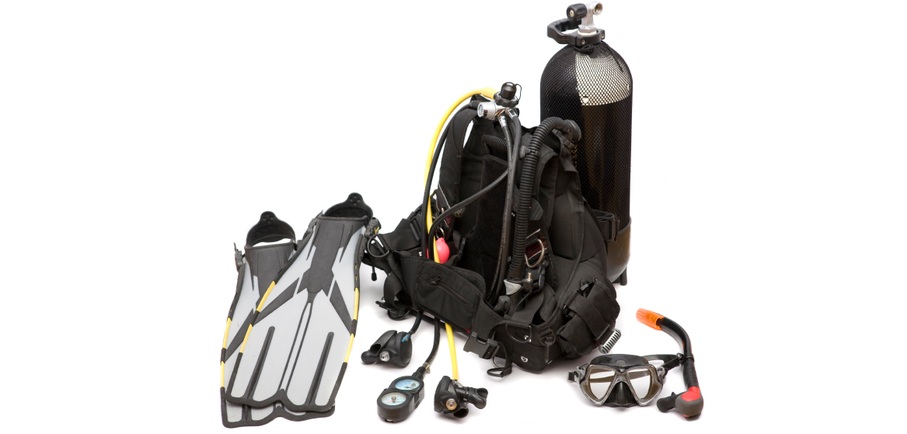
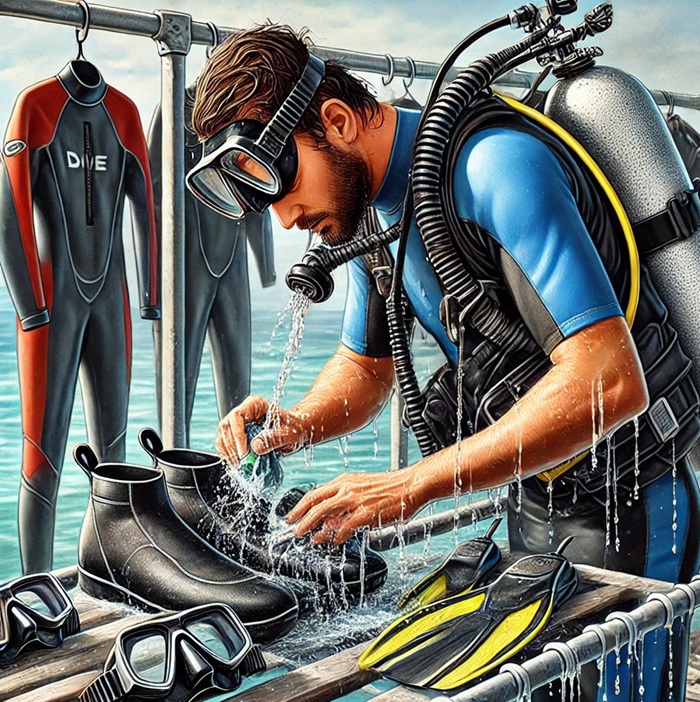
3. Washing the Fins, Mask, and Snorkel
Rinse fins, masks, and snorkels in fresh water. For deeper cleaning, use a small amount of dish soap, focusing on the nose area, lenses, skirt, and crevices of the mask. Rinse thoroughly with warm, clean water.
After washing, store them in a dry, clean space. When storing fins, keep them flat or supported to avoid warping—never stand them on their edges.
4. Washing the Camera, Computer, and Knife
After cleaning the essential gear, don’t forget to rinse your camera, dive computer, knives, sheaths, and torches.
For stainless steel knives, apply a thin layer of petroleum jelly before storage to protect against corrosion.
5. Washing Gloves, Booties, and Wetsuits
Use a high-quality detergent to clean wetsuits, gloves, and booties by submerging them in water. Never wash a wetsuit in a machine or dry it in a dryer. Instead, soak it in a wetsuit cleaner and rinse with warm water.
Ensure no salt residue remains. Hang the wetsuit on a wide hanger to dry completely. To maintain zippers, apply a specialized dive gear wax.
Once all steps are complete, your scuba gear is clean, well-maintained, and ready for safe use again.